|
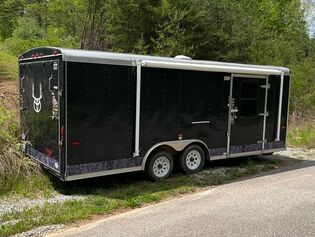
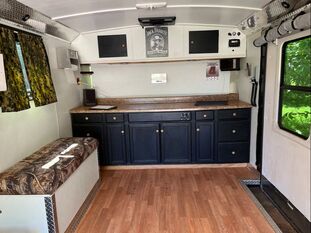
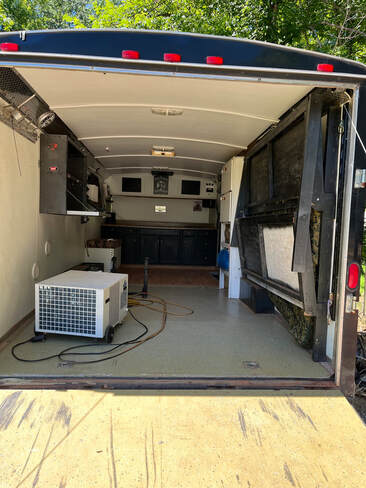
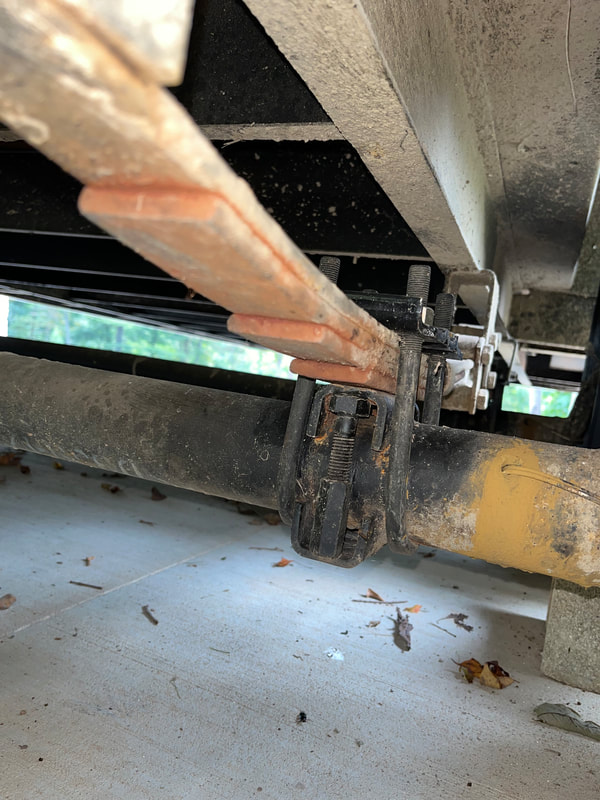
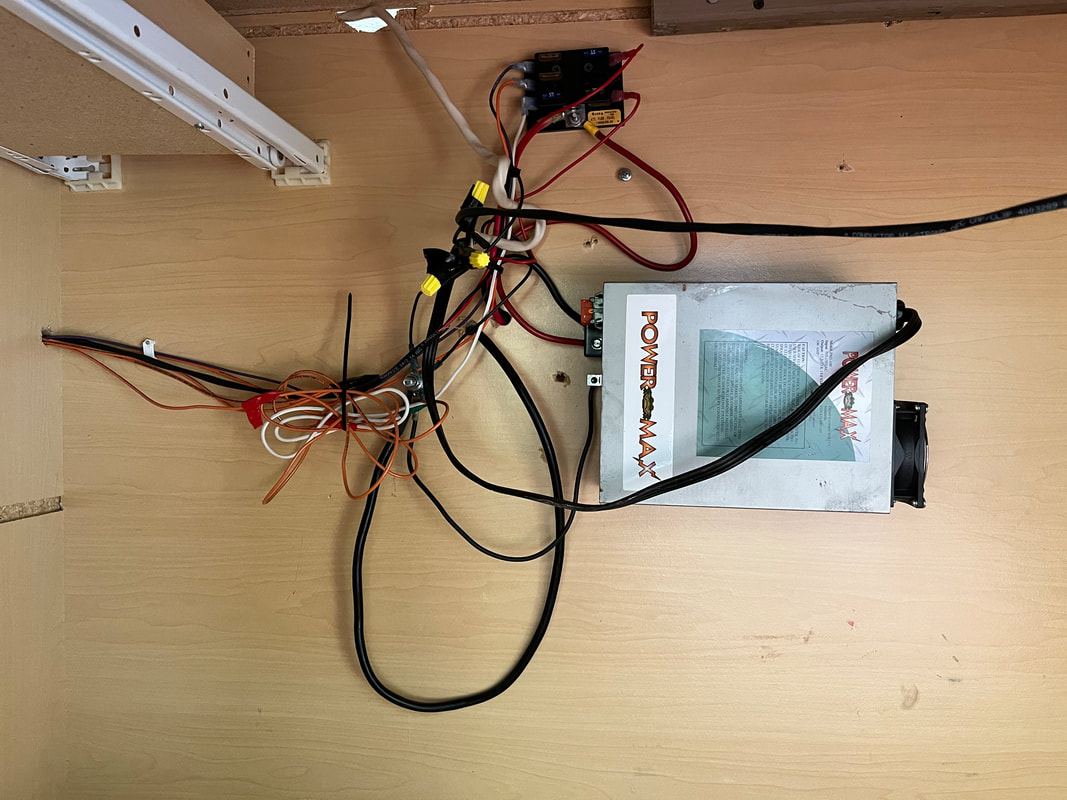
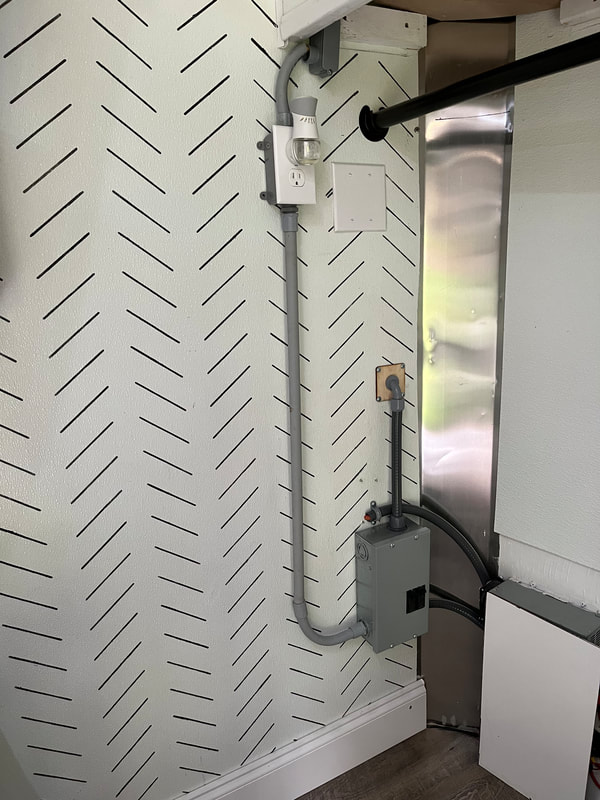
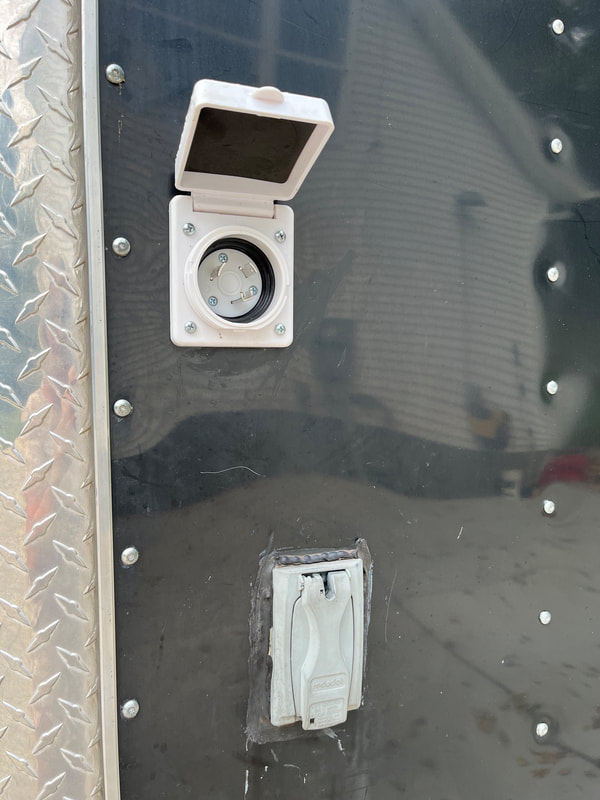
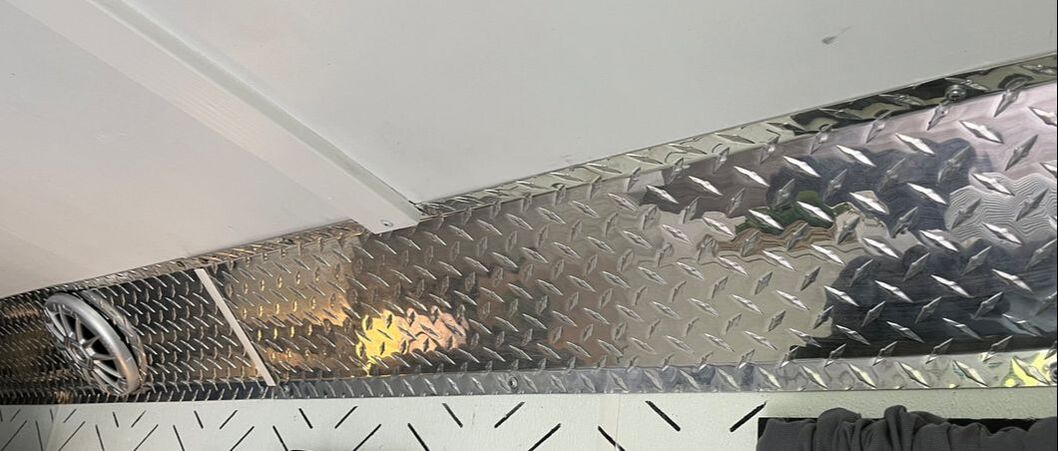
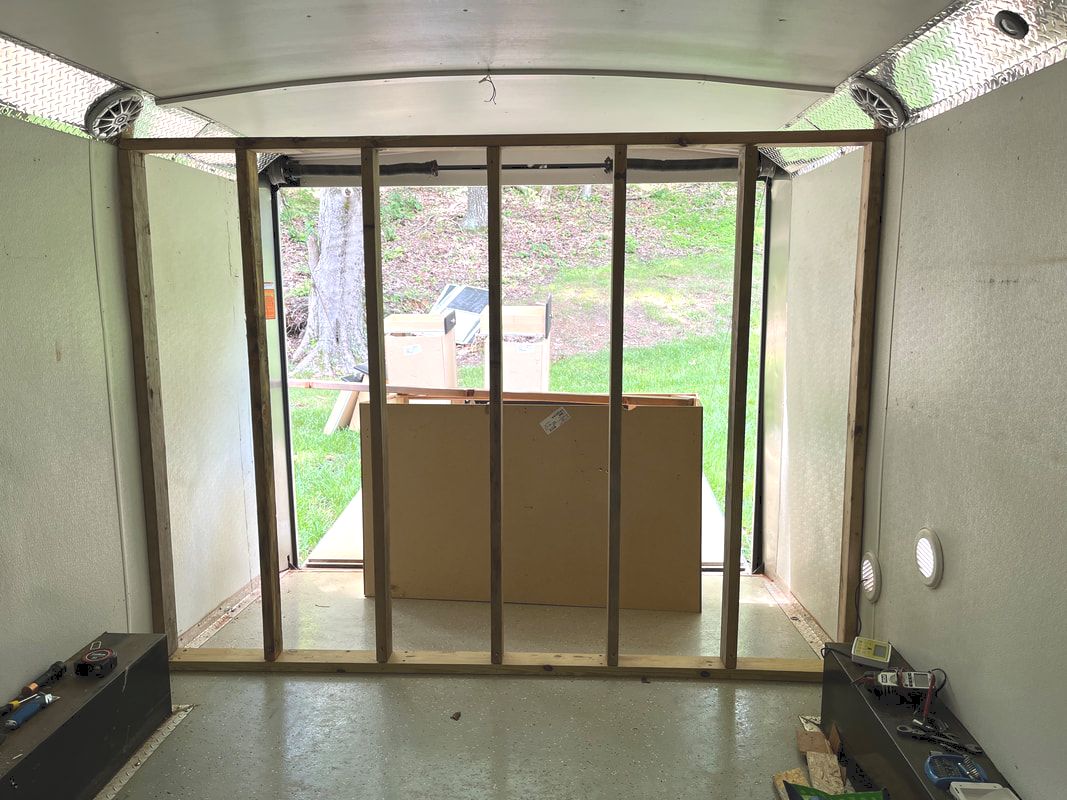
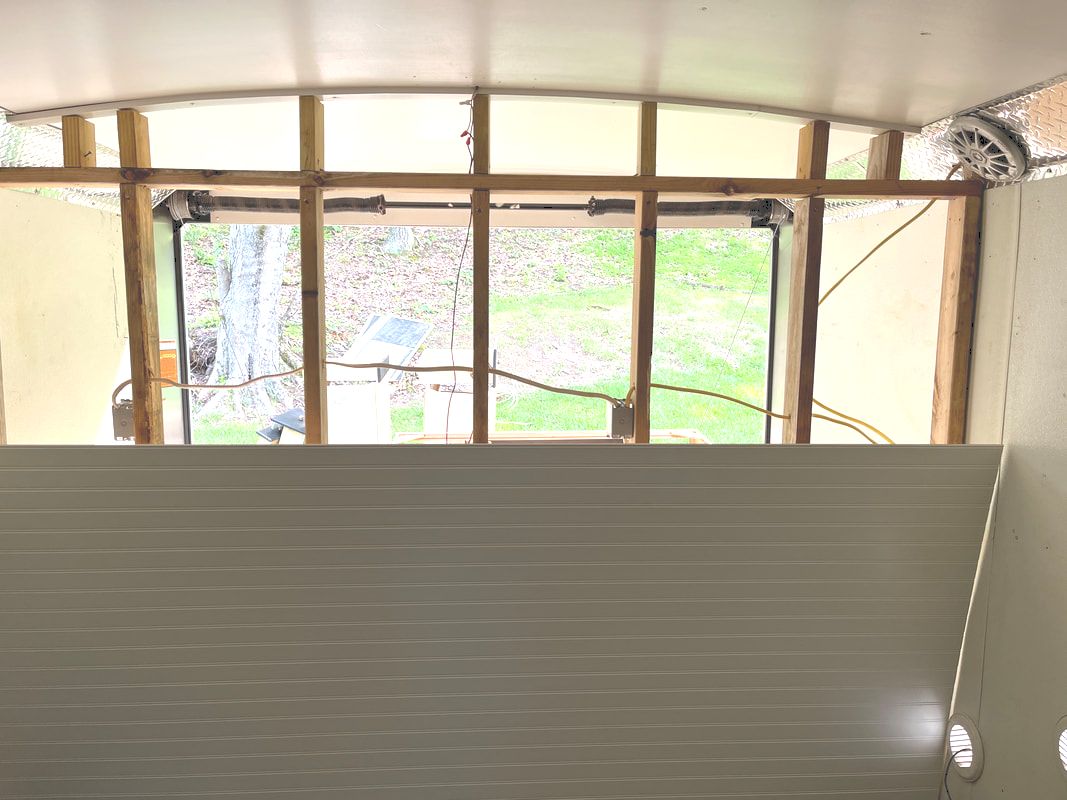
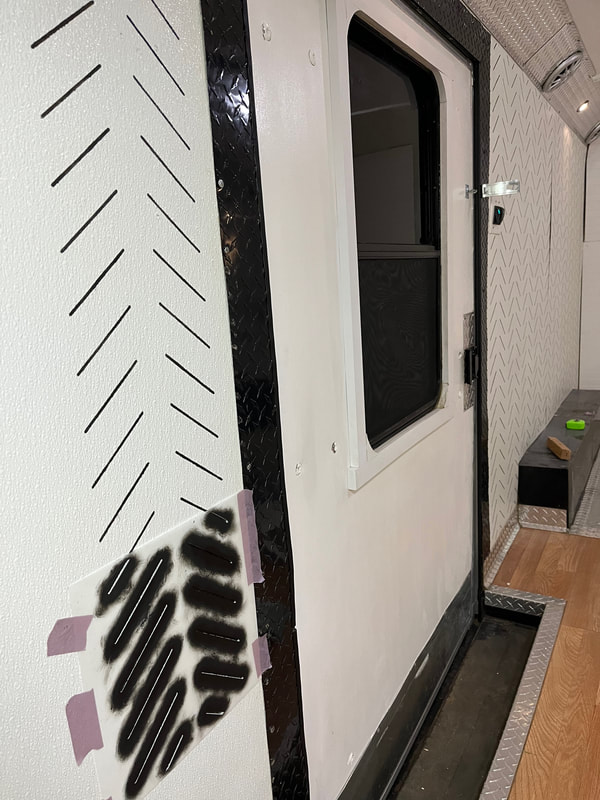
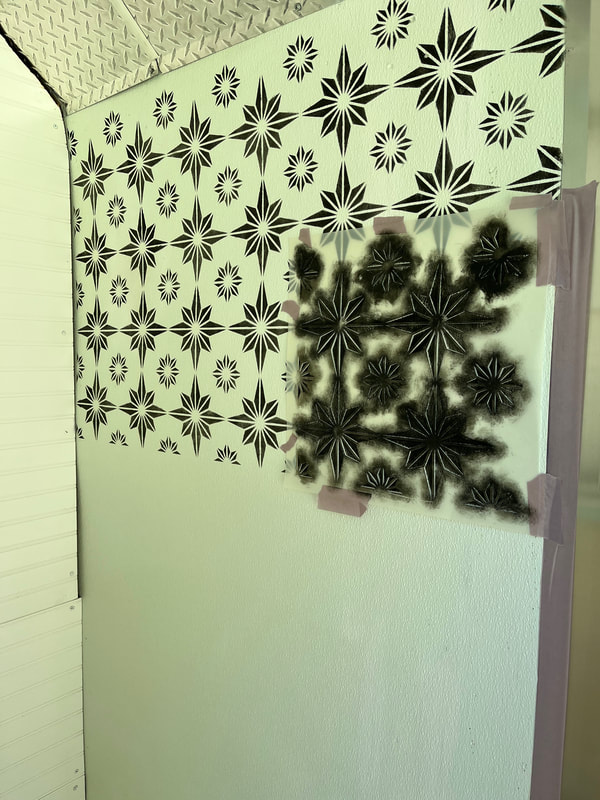
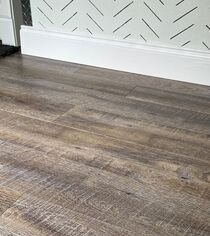
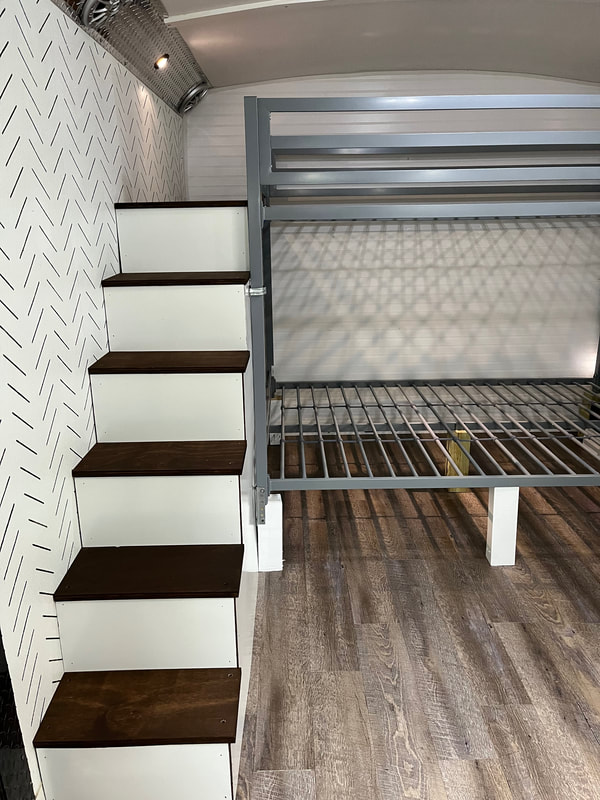
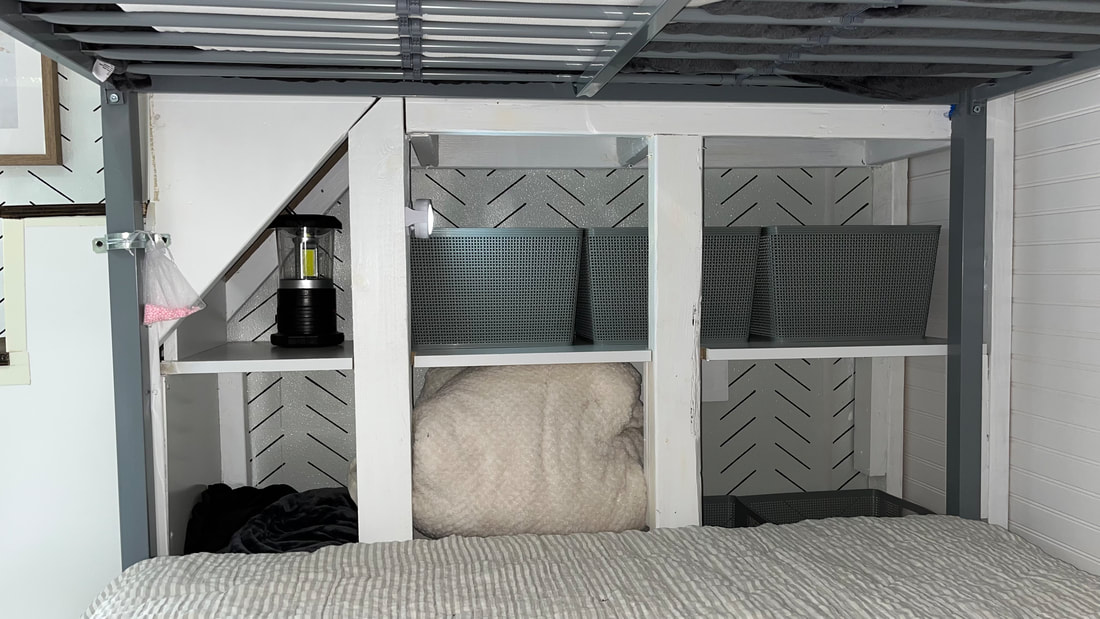
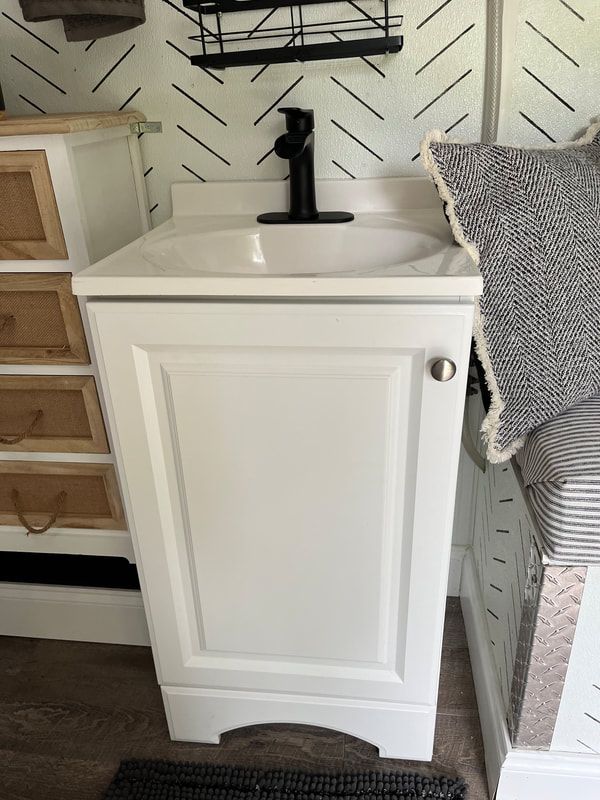
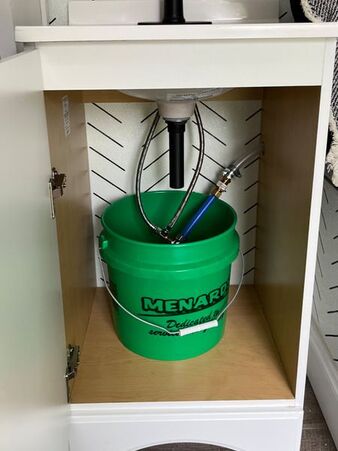
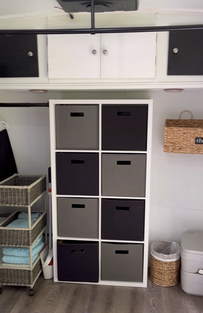
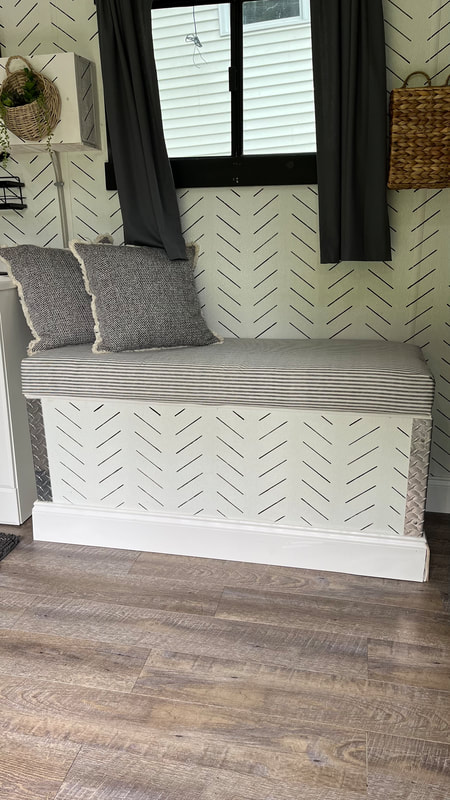
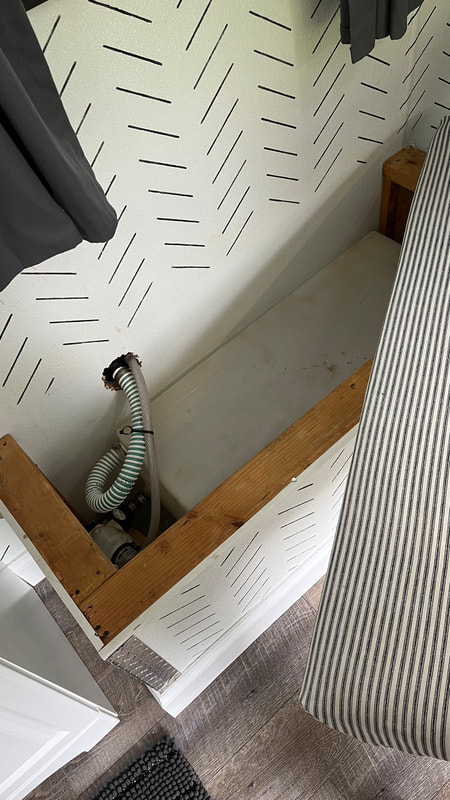
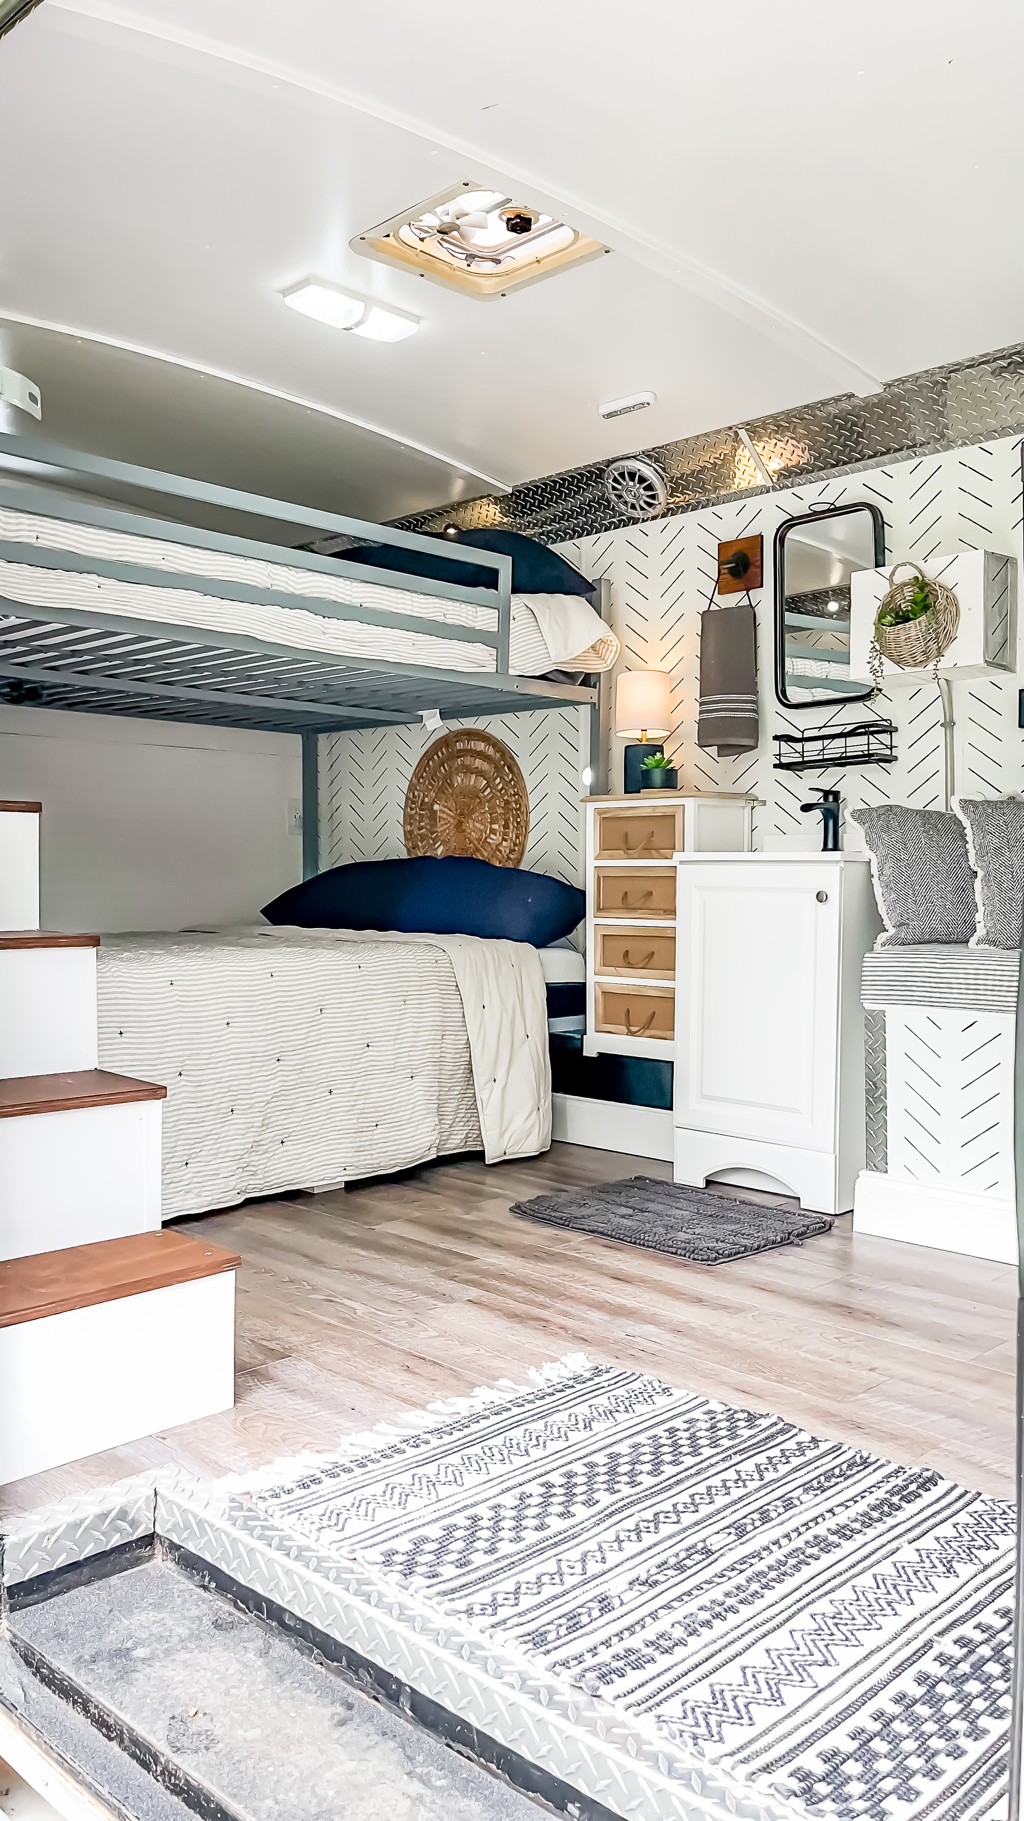
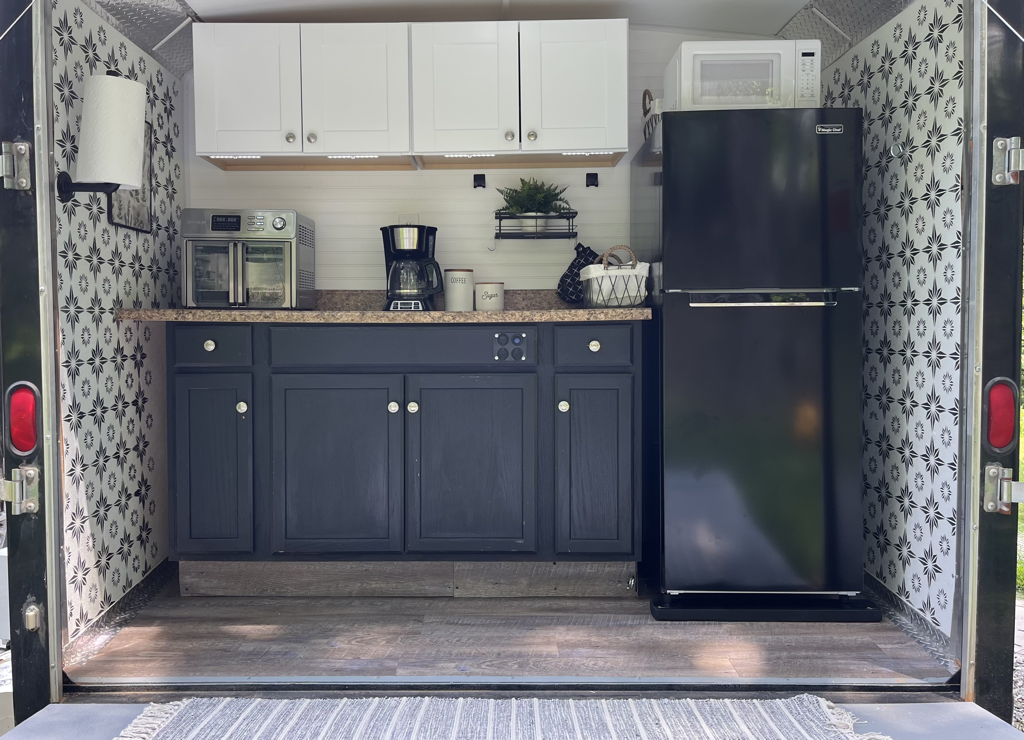
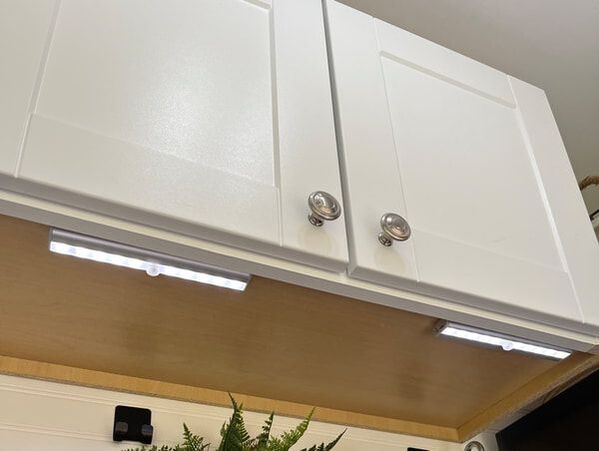
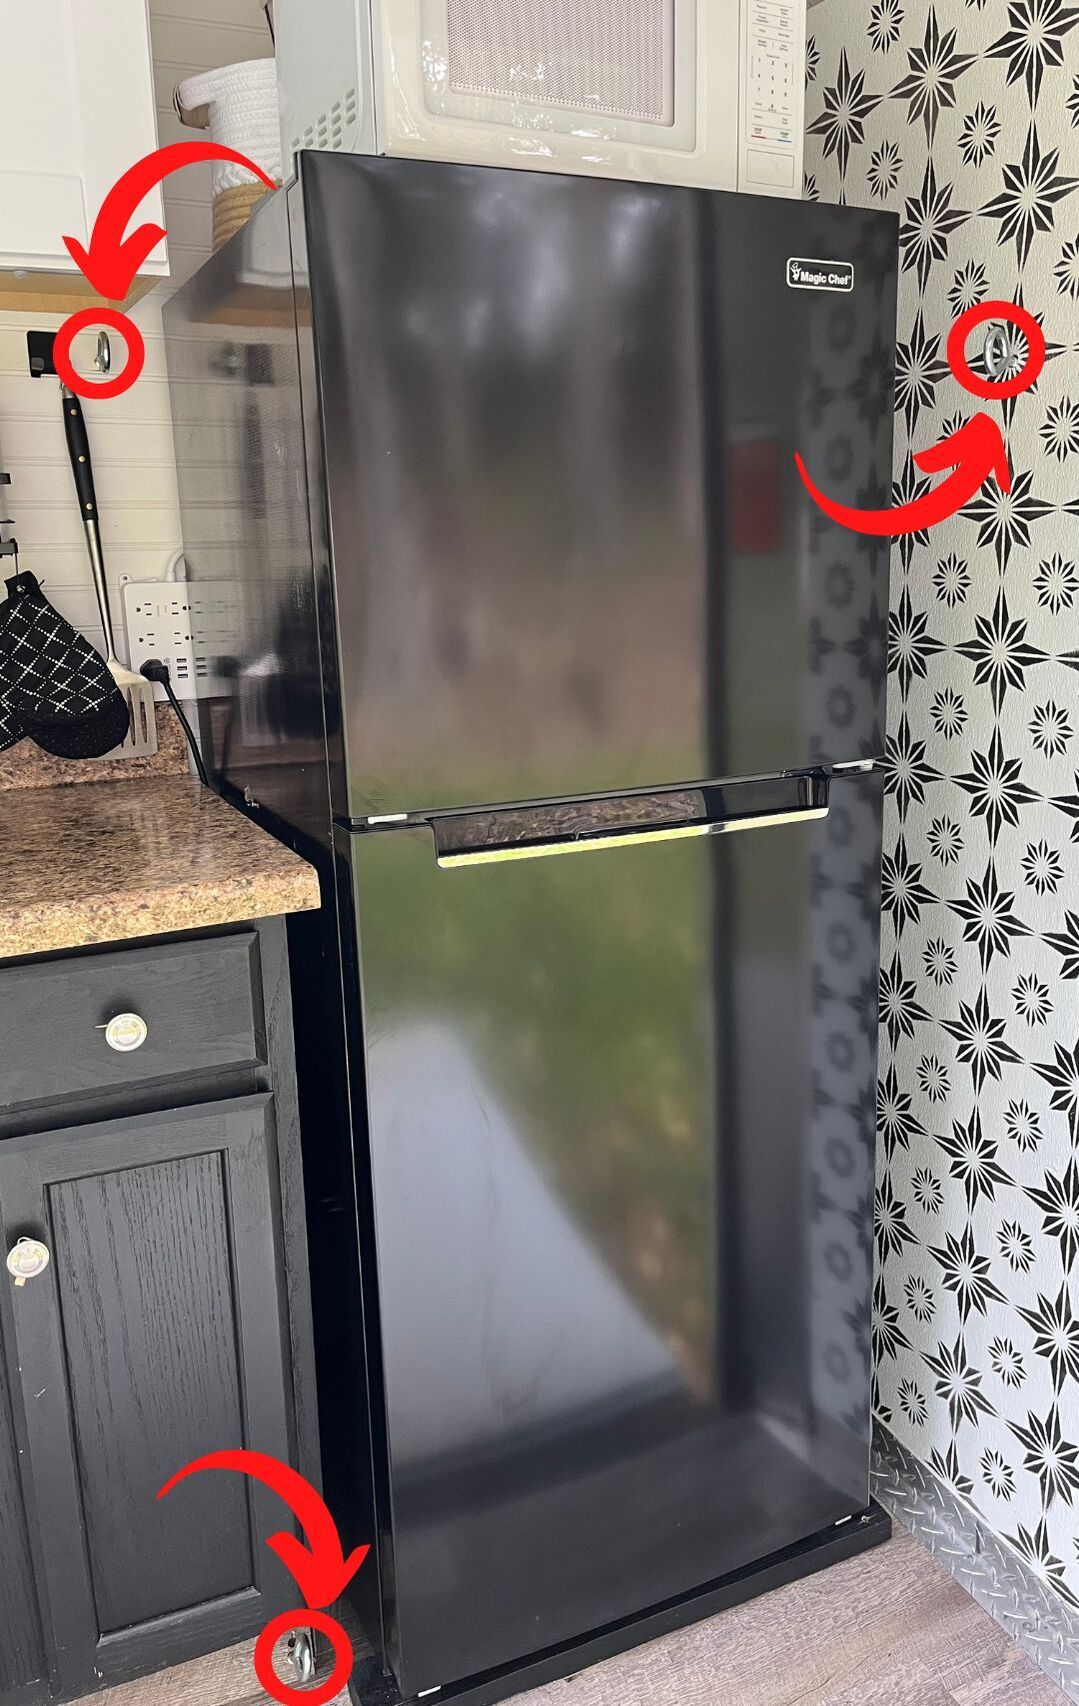
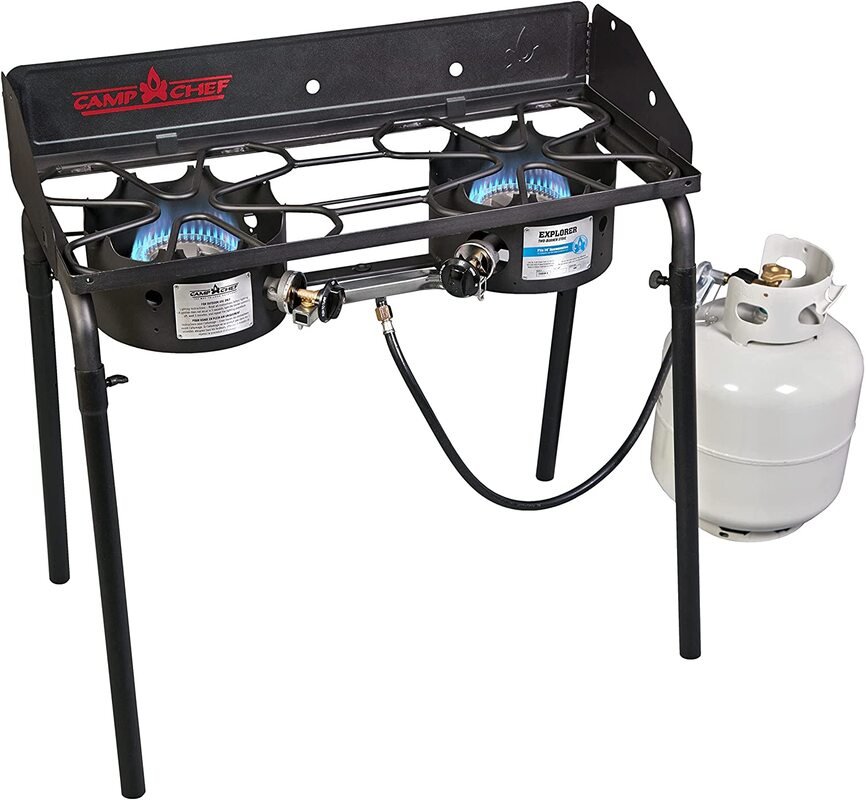
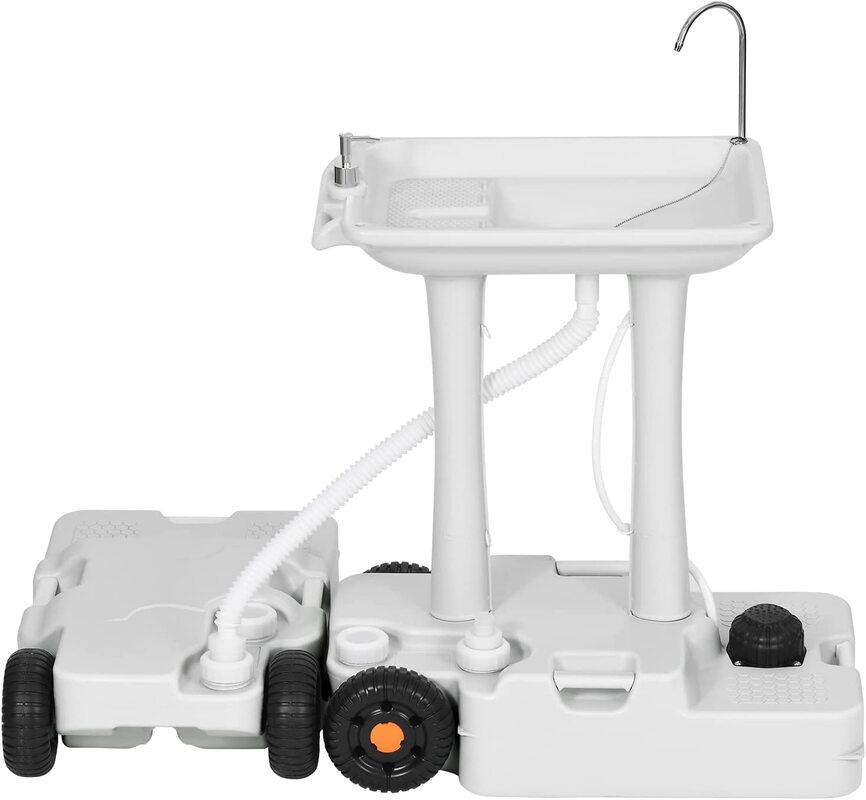
My husband and I recently bought a 24' cargo trailer that was previously used to haul a dirt bike to races all over the east coast. It was partially converted when we bought it with cabinets in the front, a water tank and outdoor shower, a portable heating & cooling unit, heavy, clunky fold down bunk beds, a dirt bike stabilizer, and various storage cabinets. Here are a few pictures at the time we bought it. We live on a hill and the trailer would not make it up because it sat too low and would drag. My brothers put a lift kit on it and raised it up 6" inches. It now makes it up the driveway just fine. I apologize for the shaky video, I was trying to watch all the points of contact to make sure it would not drag. (There is a link at the end of this blog where you can find lots of the products we used) Sleeping QuartersWe then gutted the inside and gave it a good cleaning to get rid of the dirt bike fumes and residue. We repurposed the cabinets in the "outdoor" kitchen which you will see further down. We moved the inverter and ran new wiring to the back of the trailer which gave us outlets, and additional lighting. We also installed an exterior 30 AMP inlet. We ran the new wiring behind the diamond plate at the top of the wall. That was an easy way to hide the new wire! I wanted the kitchen to be located at the back of the trailer so that when the back door was pulled down, we would basically have an outdoor kitchen. To achieve this we built a wall 4' from the back of the trailer to separate the kitchen from the sleeping quarters. We nailed bead board to each side of the studs to serve as the wall. The ceiling is curved, so I made a template with brown craft paper to cut the top piece of beadboard. We also added short studs above that top 2x4 to give us something to nail the top bead board to. You can see those in the second picture below. Once the wall was built and wiring ran, it was now time to start making it pretty! I stenciled a simple pattern in the sleeping quarters and used a more intricate design in the kitchen. I used caulk strips to hide the gap between the new wall and sidewalls and ceiling. Next was ripping out the laminate flooring and replacing it with a peel and stick vinyl plank flooring. Then we added baseboard to give a finished look. I ordered full over full bunk beds from Amazon. We had to raise them 11" because of the fender wells. This put the top bunk pretty close to the ceiling but it works. It is nice having that 11" under the bed for storage. I secured the bed to the steps, walls, and floor so that they would not move during travel. I figured out the size and rise of the steps to the top bunk (this really made my head hurt) and we cut out the stringers from 2x12's. I had some old shelving that I was able to use as the stair treads and then I used a 1/4" piece of wood as the risers. I also built shelves under the steps for additional storage. We then installed a small sink and ran new plumbing from the water tank. Instead of cutting a hole in the floor and installing a gray water tank, we just put a bucket under the sink to catch the dirty water. Easy enough! I fastened a set of storage cubes to the floor and front wall. I then added a rod on the left side to hang clothes. To the right of the cubes is where we put the porta potty. I then hung a curtain rod to lend a little privacy. I got a great deal of curtain panels at JC Penny. I cut them to the size needed for all the windows and used double sided fabric tape instead of actually sewing a new hem. The water tank is located under this bench. I covered the cushion with a heavy duck cloth fabric. Outdoor KitchenWe repurposed the cabinets that we removed during the demo phase. We moved them to the kitchen area and screwed them to the floor and walls. We didn't use all of them so we had to cut down the size of the countertop. We bought 2 upper cabinets and secured those to the studded wall we built. We added 3 eye bolts to the studs around the fridge so that we could strap the fridge in place during travel. We left enough room to add an apartment size refrigerator. A larger fridge was a must for me. I put a convection/toaster oven on the counter and put the microwave on top of the fridge. We have a 2 burner Camp Chef stove which we set up outside for cooking. We also purchased an outdoor sink for washing up. We are so happy with the final result of this project. We tailored the camper to our liking and it is so very comfortable. During our first camping trip, there was someone stopping by every single day to ask if they could look inside. I always promise not to include annoying ads in my blog posts. If you are interested in links to some of the products we used, click the button below. As an Amazon Associate I may earn a small commission at absolutely no extra cost to you. Here is a quick tour of the finished camper. - till next time
3 Comments
Jackson P
10/8/2022 05:02:39 pm
That’s pretty cool. I’ve thought about doing this myself. Thanks for all I’m the pointers.
Reply
Meghan
10/8/2022 05:17:58 pm
I can’t wait to show the hubby! I’ve been trying to talk him into doing this.
Reply
Leave a Reply. |
AuthorDebbie Tucker, CID Categories
All
Affiliate
I may include affiliate links in which I might earn a small commission at no extra cost to you. Disclosure Statement |




 RSS Feed