|
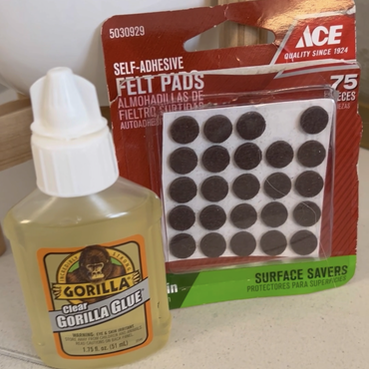
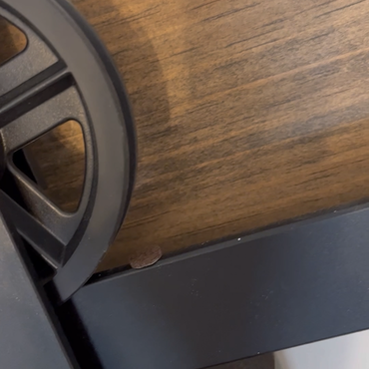
A common problem with barn doors is that they will not stay shut or open. If they are slightly out of level, they will move on their own. That was my problem but I discovered an easy fix! You only need 2 items: little felt pads and gorilla glue. Put a dab of Gorilla Glue on your felt pad and stick it on your top rail (you'll need to determine the best spot for it which is about and inch from the wheel when it's pulled completely open). Now just wait for it to dry and that little pad will do the job! Watch the video below to see how well it works. As an Amazon Associate I will earn a commission on qualifying purchases at absolutely no extra cost to you. More info here.
Good luck and let me know if it works for you. - till next time
0 Comments
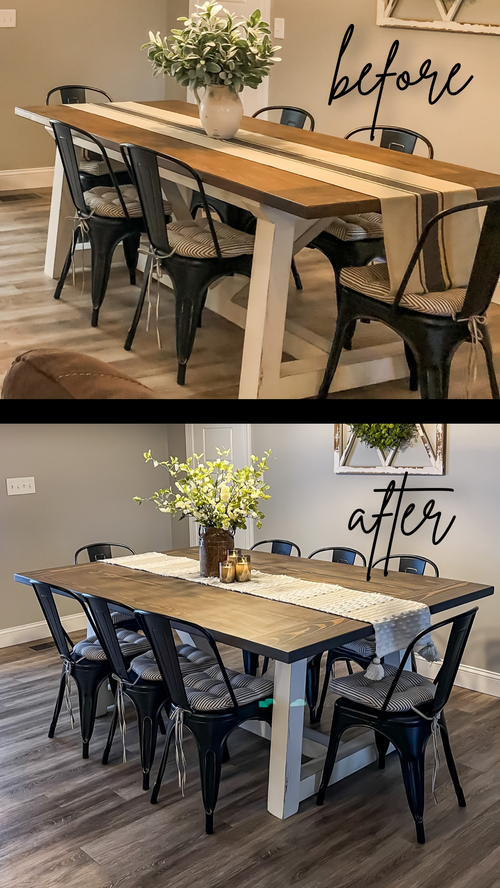
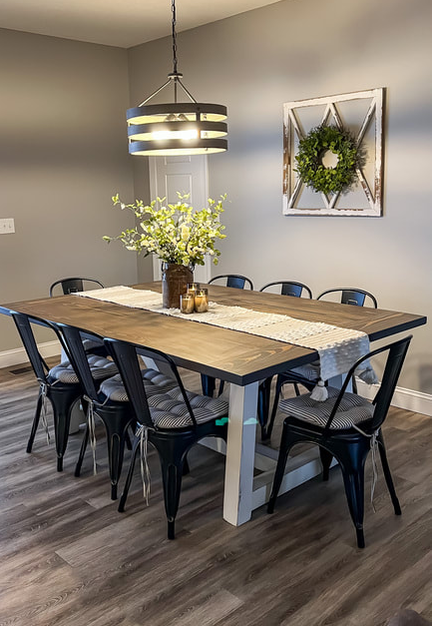
My brother built this table for me about 2 years ago. I recently decided to make it wider to accommodate more seating. I removed the tabletop from the base and took it to their woodshop - Cobb Brothers Woodworking, and then the process began. There is a video of the whole process at the bottom of this post. 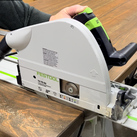 I wanted to add about 16" to the width of the table. So, Dwayne brought out the circular saw and went to work cutting up that beautiful tabletop to make room for the new boards. He cut off each end and then split it length wise. 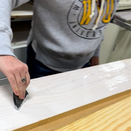 Since we no longer had any of the thick pine boards that we originally used, we had to glue up the pine he had in his stockpile. We used kiln dried yellow pine and planed it down to the right thickness. We then glued them up and waited for them to dry. 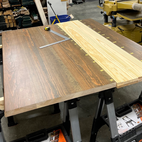 The next step was to plane the boards again to ensure they were completely flat and the same thickness. We then placed the new boards between the old ones and marked where the dominos would go and went to work creating the holes with a Festools Domino Joiner. 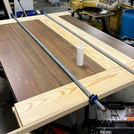 After that it was a matter of lining up the dominos, gluing, and clamping all the new boards together. After the glue had dried he trimmed off the excess with the circular saw and used the router to put a nice finished edge around the entire table. 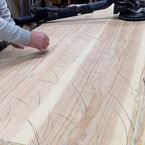 Now it's time to sand, sand, sand, and then sand some more. Just when I thought it was done, Dwayne took a pencil and scribbled all over the top. This way when the markings are gone, you know you have a good smooth finish. This is NOT my thing, I am not patient and you need to have patience in order to do a good job.  Once the sanding was complete, I wiped the table down with a tack-cloth and applied a coat of stain. I used Briarsmoke by Varathane, it has a nice gray-brown tone. After that was dry we sprayed it with a coat of clear vinyl. I then applied a coat of wax and it was ready to reunite with the base! I am so so pleased with how it turned out. A HUGE thank you to my brothers, Dwayne & Rick who made it happen. If you live in or near West Virginia and are looking for custom cabinetry or furniture, look no more - they are the best!! Just message me and I will give you their contact info. Here is that video I told you about! Don't hesitate to message me with any questions. - till next time
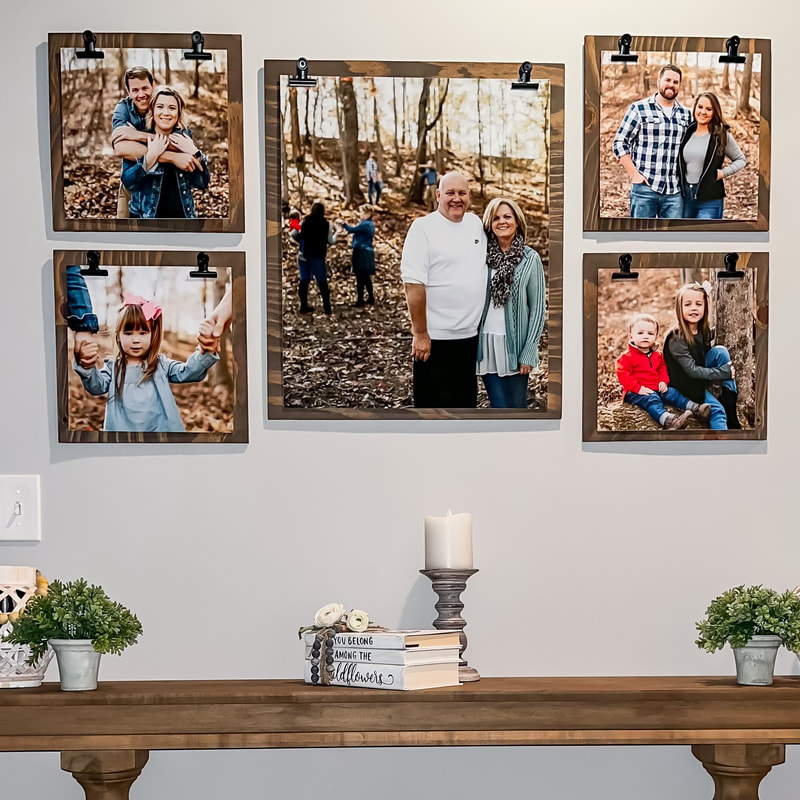
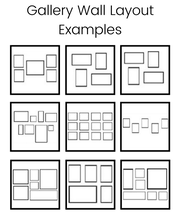
Are you looking for an easy way to display your family photos? I have an easy and inexpensive solution for you! You can make this project in a weekend. The good news - you can easily change the photos as your family "grows". This page may contain affiliate links which means I may receive a commission for purchases made through links. Learn more on my Private Policy page. List of materials:
Next have your boards cut 2" wider and 2" longer than your photo sizes. Sand them really well with sandpaper. Wipe the dust off and then stain them. After they have dried, screw your bulldog clips to the top of each board, evenly spaced. Then attach sawtooth hangers to the back. Now you are ready to attach your photos with the bulldog clips and hang them on the wall. Stand back and enjoy! Below is a video of the entire process. - till next time
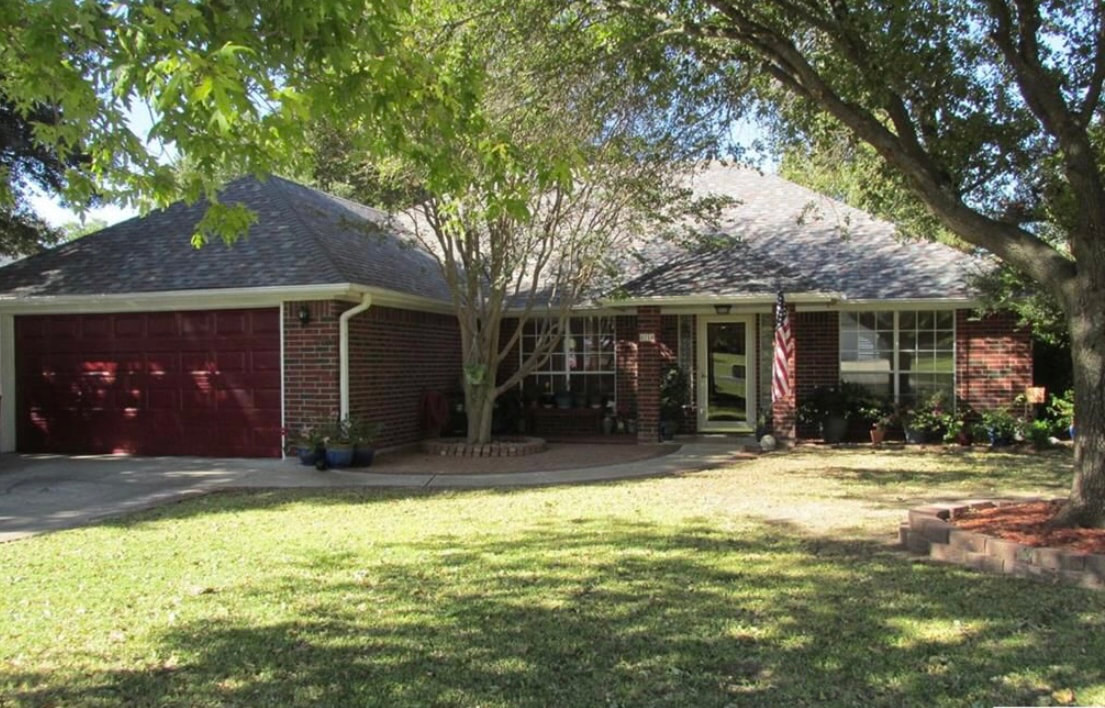
This house was lacking curb appeal. It was really well built and only need a few changes to make it really stand out. This is the before photo, you can see that it almost disappears in the trees.
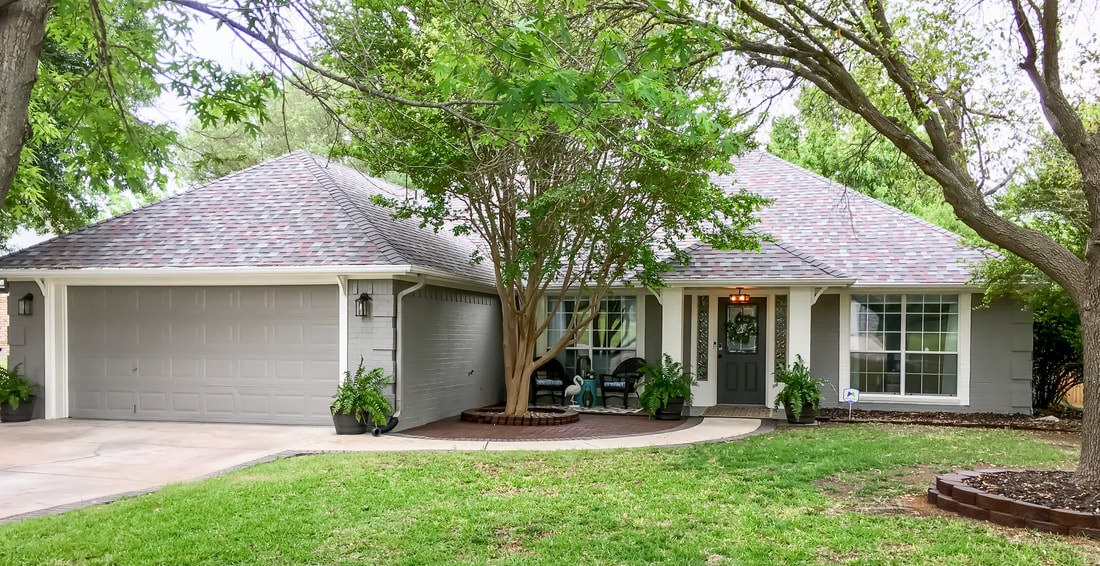
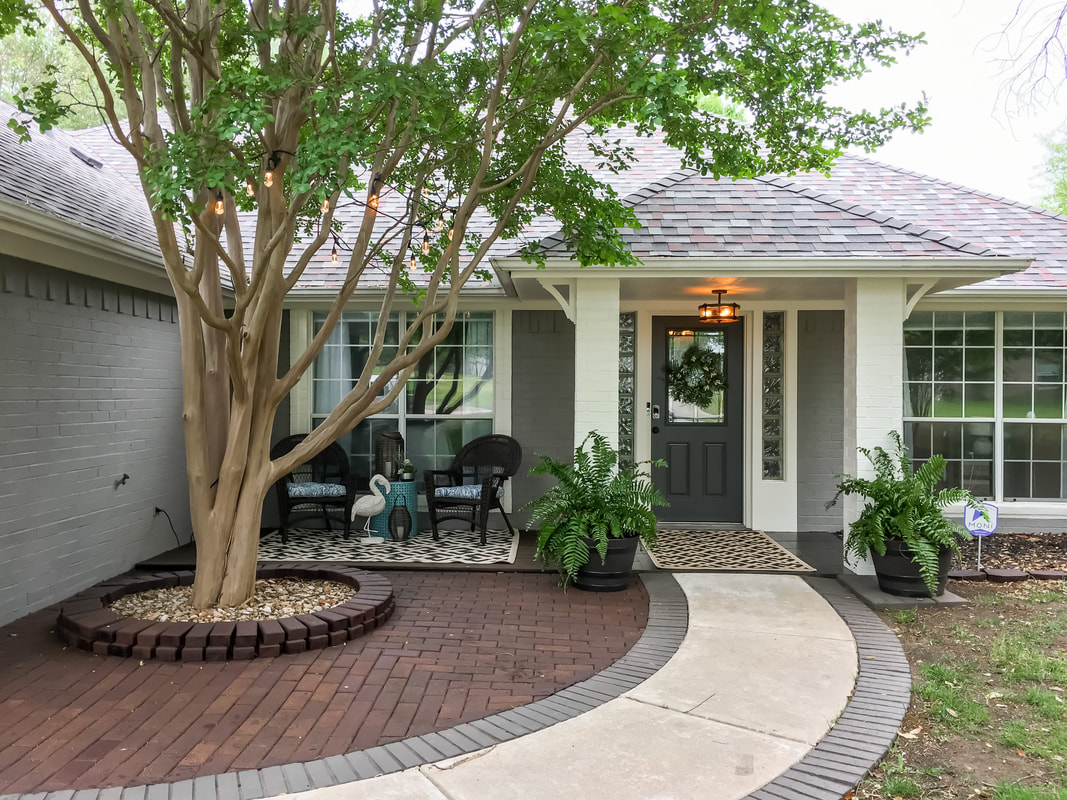
We encased the brick columns with wood and also added wood trim around the door sidelites as well as the garage door. We then put a coat of masonry primer on the house, tinted the same color as the topcoat. Tinting the primer is a game changer, it only took one coat of paint by doing this. The primer wasn't exactly the same as the topcoat because the primer base is different, but it was very close. We then painted the brick around the windows and all the wood with a light cream color. We replaced the front door with a half glass door to allow more natural light into the home. I painted it dark gray. We replaced all the lights with more modern fixtures. I stained the brick on the ground in front of the house, added some chairs and plants, and there you go!
What a difference these few changes made! We had around $600 in the entire project and some good sweat equity. It now really stands out and is the cutest house on the block.
I hope this inspires you to take a look at your home's exterior and see if you too can add curb appeal with just a few changes. If you need help just send me a picture of your home and we'll talk about it.
- till next time
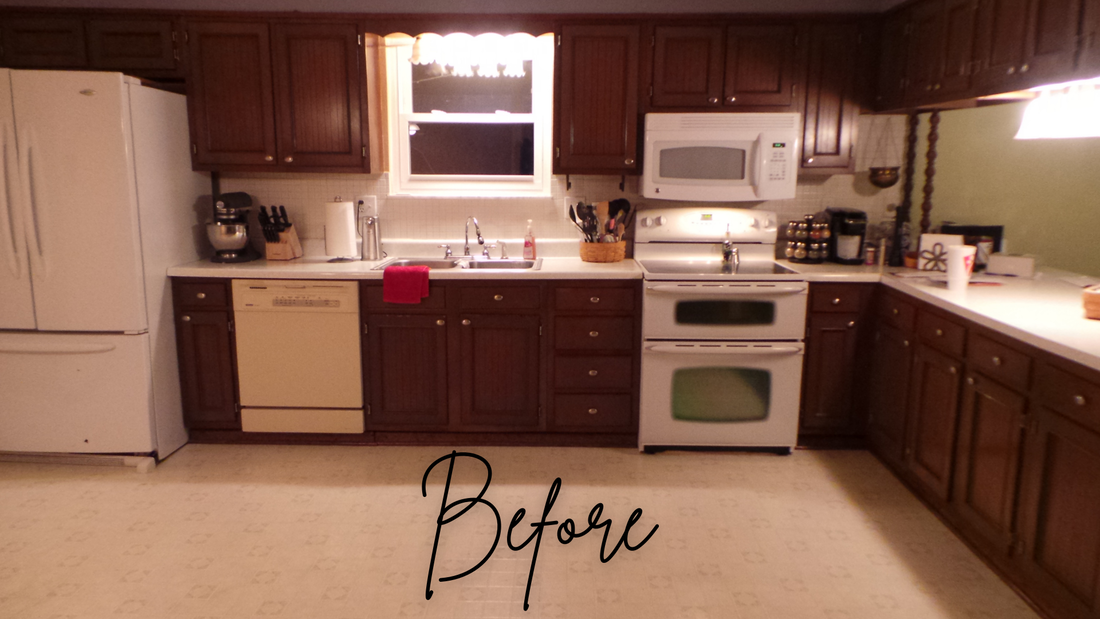
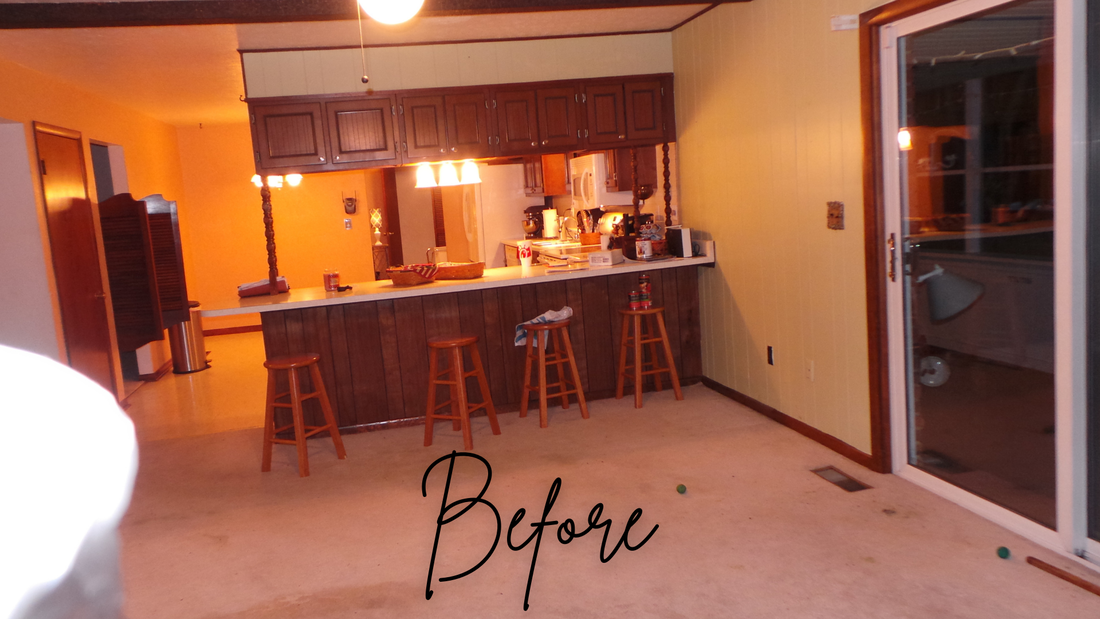
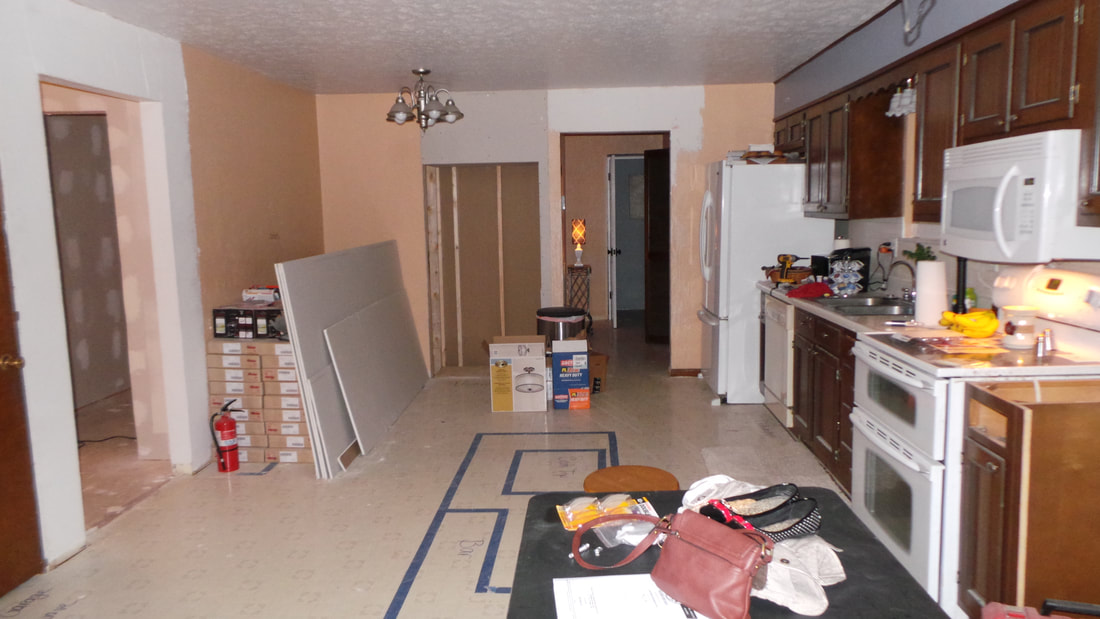
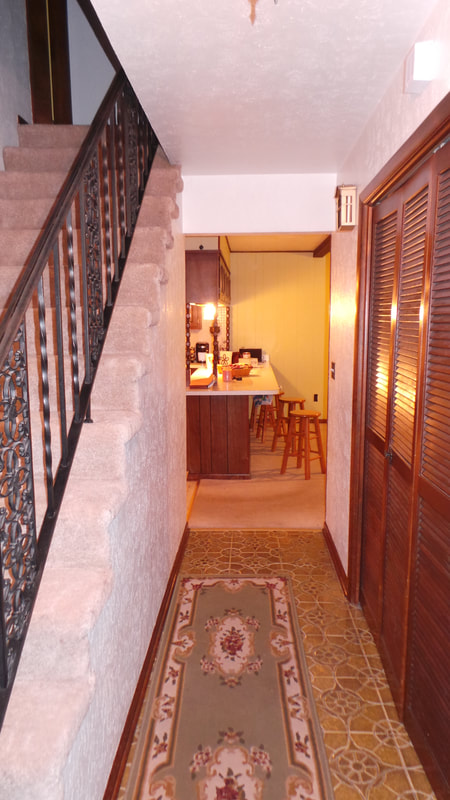
This beautiful kitchen did not look anything like this when I first got my hands on it. It was an L-Shaped kitchen with a peninsula and cabinets above it, very popular in the 60's but not ideal for sure. See the before pictures below.
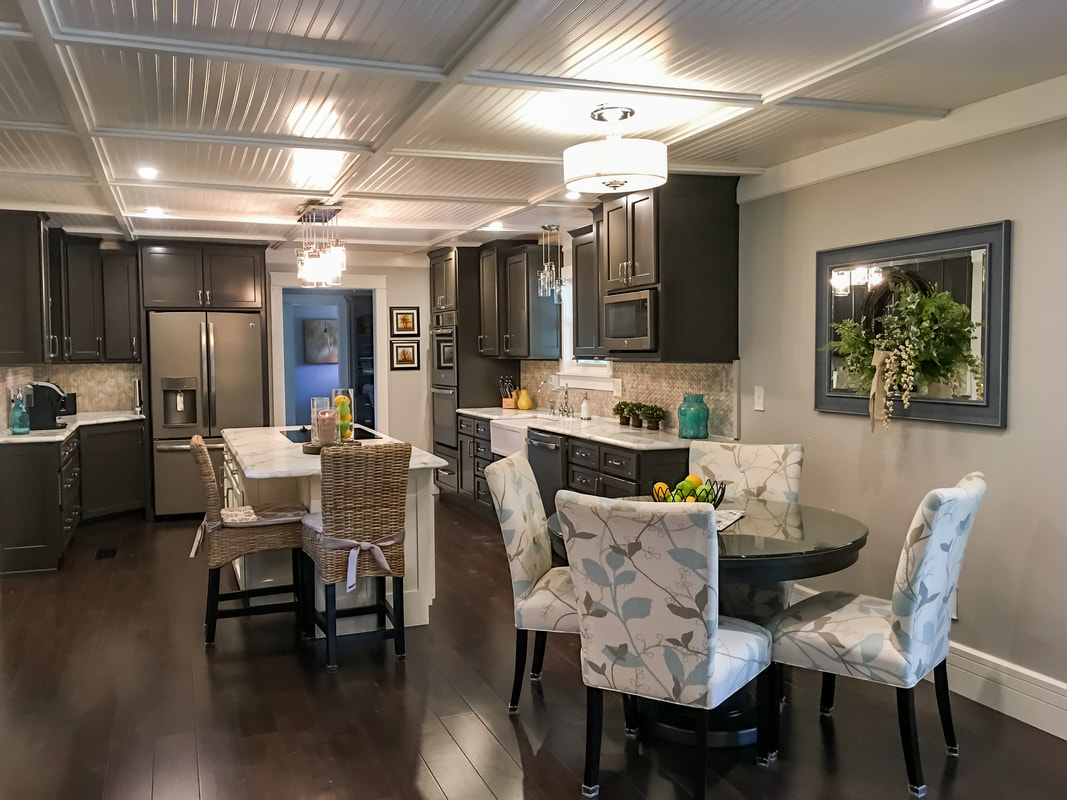
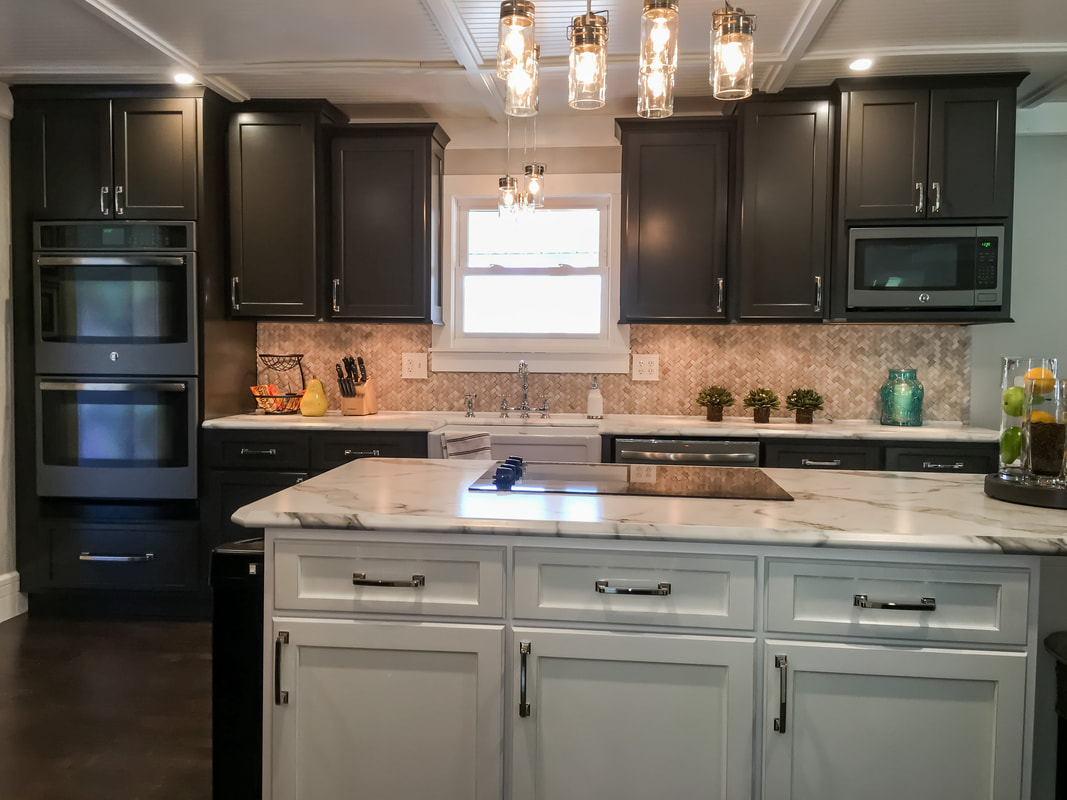
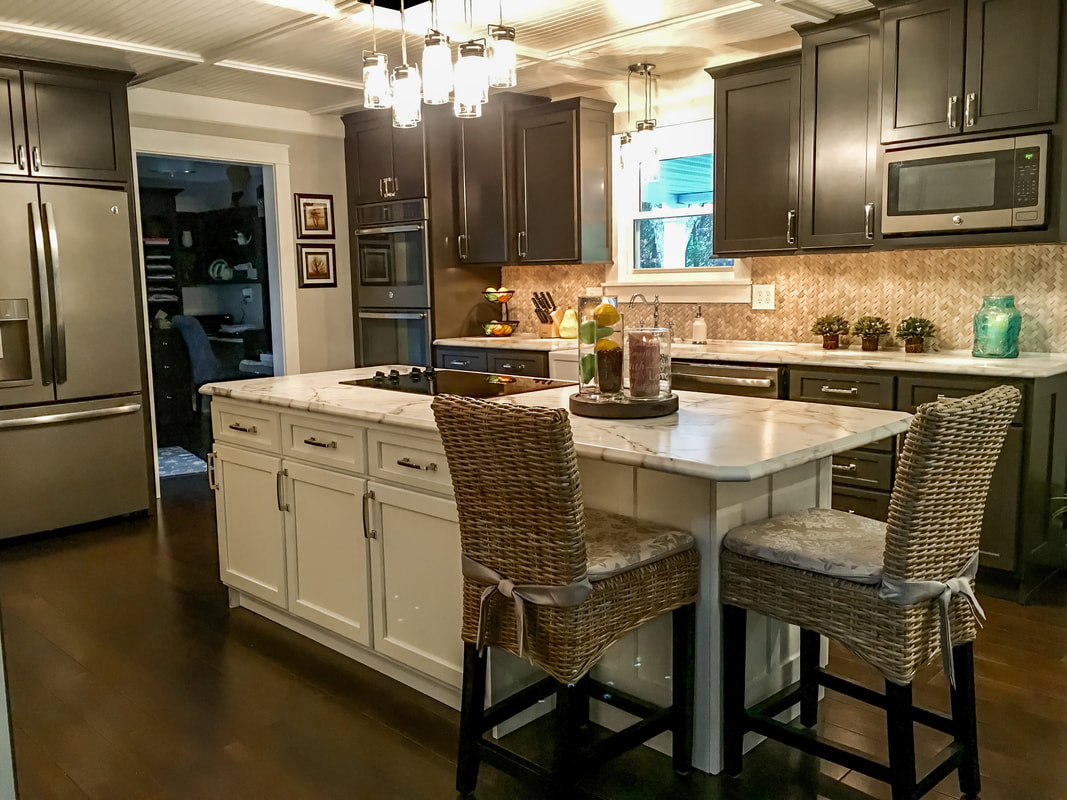
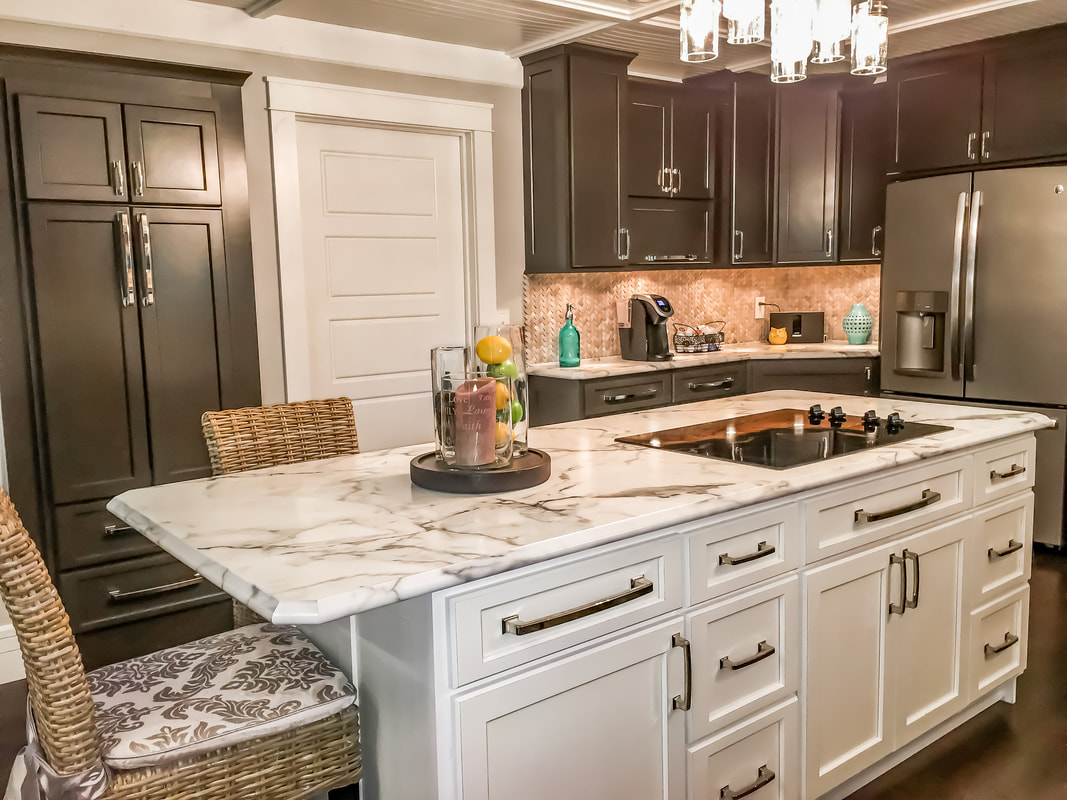
We ripped everything out and started over. I used a rich dark brown on the cabinets and chunky chrome hardware. The island was a great addition to this kitchen and really tied everything together. The countertops are actually Formica. Everyone thought it was real Calcutta marble. It was a fraction of the cost of marble. I installed a farm sink and carved out a spot in the cabinets for the microwave.
So Bad!
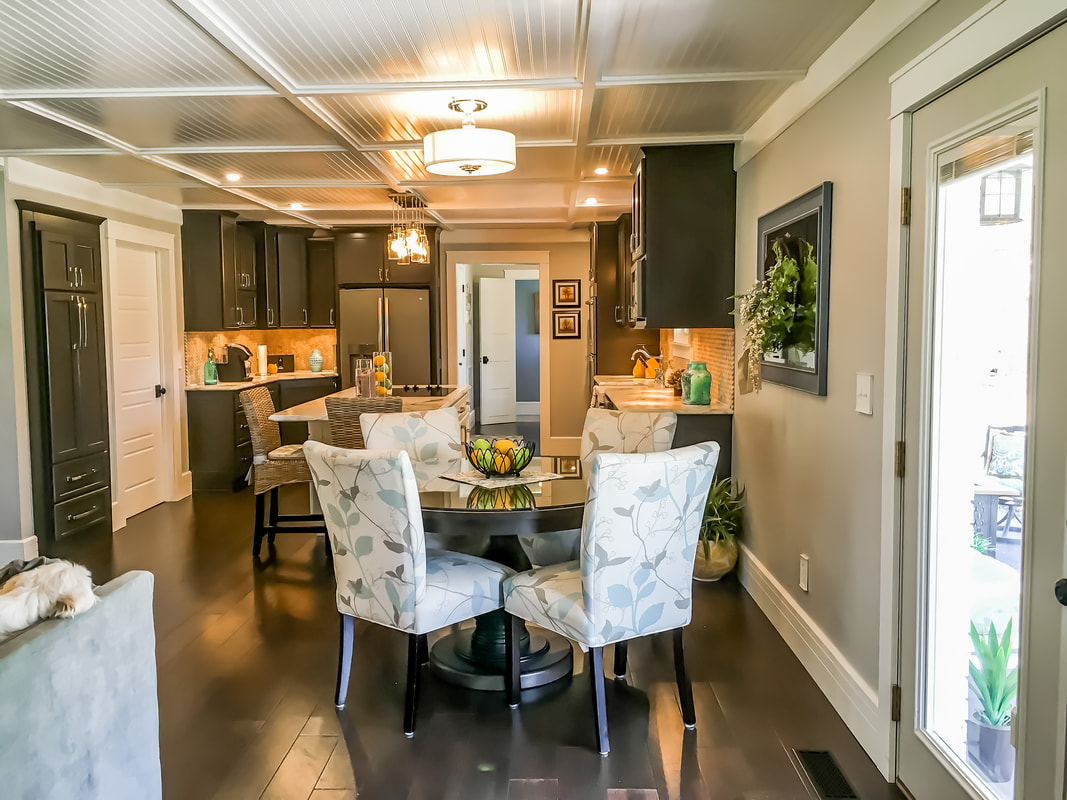
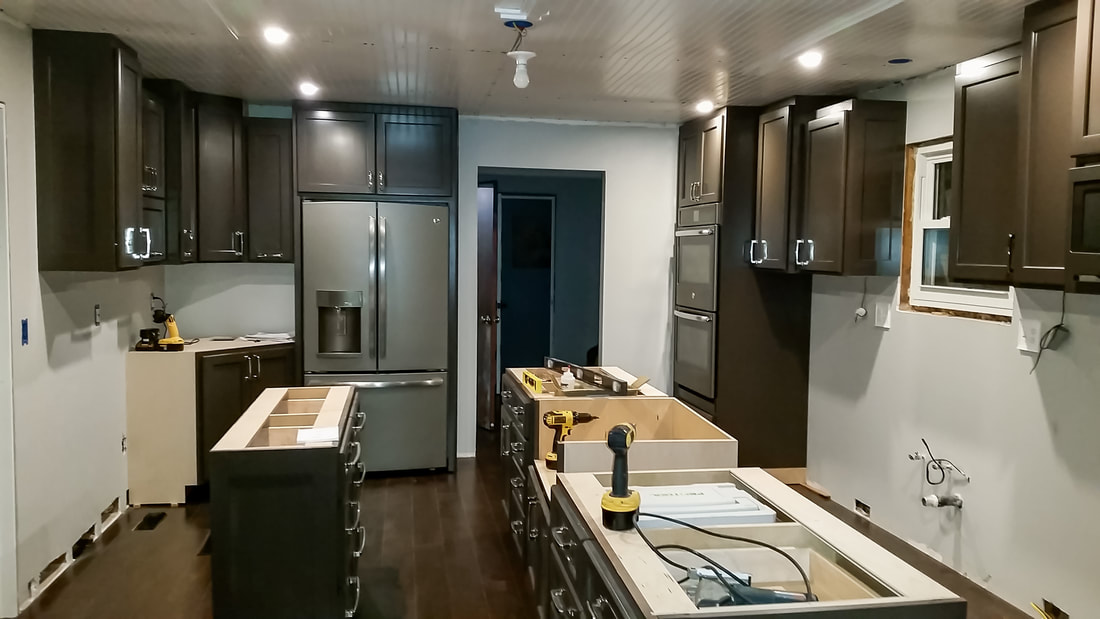
I redesigned the kitchen to be U-Shaped. I sunk the fridge into the garage a few feet so that it would be flush with the cabinets. I added cabinets along the left hand side where the kitchen table used to sit. I also added bead board on the ceiling and trimmed it out into 4' squares. It was stunning.
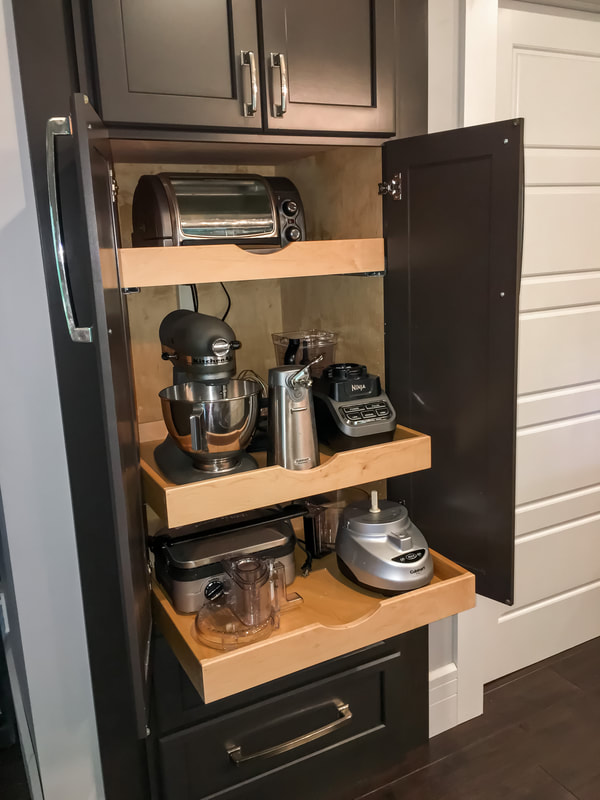
I utilized the space under the stairs and turned it into a small appliance cabinet. I had an electric strip installed in the back of the cabinet so all the appliances could remain plugged in and ready to use. All the shelves were pull outs which made it very functional.
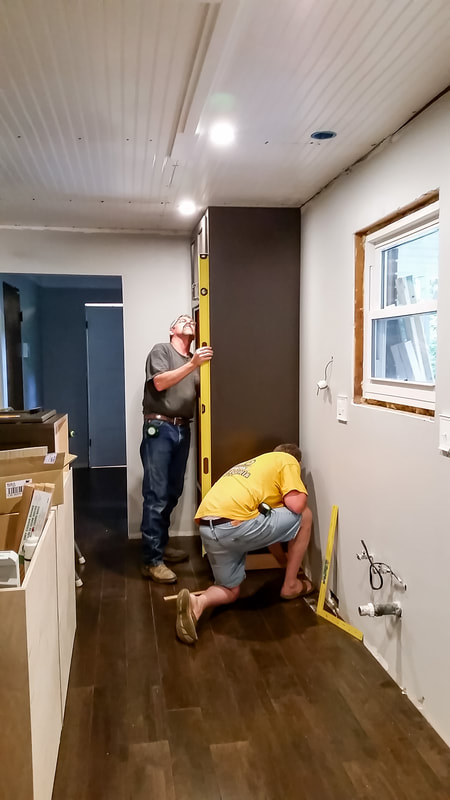
Install day was so exciting! My very talented brothers (Cobb Bothers Wood Working) custom built this kitchen. They also made the countertops. If you live in or around West Virginia and need a kitchen, you WANT to hire them. They do top notch work. Contact me and I'll send you their information.
GETTING CLOSER!
I could not have been more pleased with the outcome of this kitchen remodel. It was beautiful and way more functional than the original kitchen layout.
Kitchen remodels can be very costly, so you want to make sure that you start with a solid design and include all the elements that will function well for you. If you need help with your project feel free to reach out to me.
- till next time
This entry was closed off and cave-like. You could barely get a mattress and furniture up the stairs because it was so tight. There was also outdoor iron railing for the stair rails. The flooring screamed 1960's. All of this had to go! Just look at the photo below. (I'll address the kitchen in another post.)
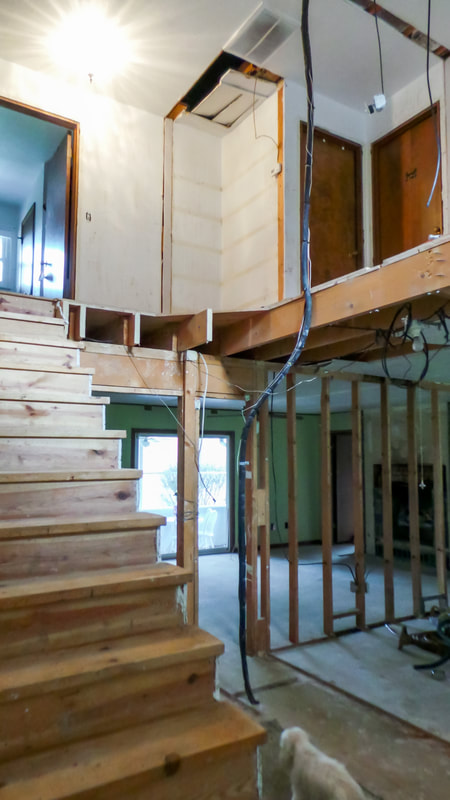
The demo included removing the railing, removing the small bedroom that was above the entry to make a grander entry, removing the coat and electrical closet, and taking down all the walls to make an open concept.
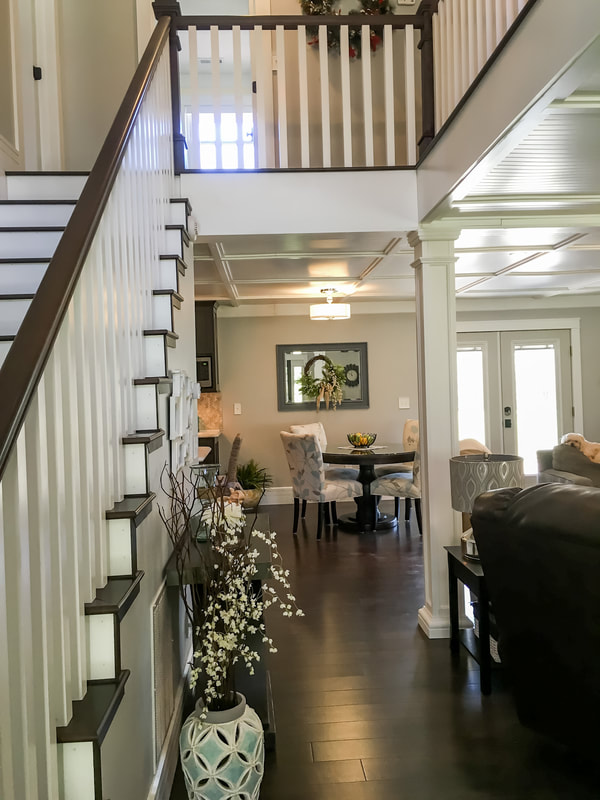
We had to install a beam to carry the weight of that supporting wall downstairs. Those studs came out eventually. This was a huge undertaking but the results were so worth the hard work. Just look below!
What a difference! This entire home was a complete remodel and took about 5 months to complete. Putting wood on the ceiling was one of my favorite features. What do you think? I'd love for you to leave a comment below and tell me your favorite part of this remodel.
- till next time |
AuthorDebbie Tucker, CID Categories
All
Affiliate
I may include affiliate links in which I might earn a small commission at no extra cost to you. Disclosure Statement |








 RSS Feed